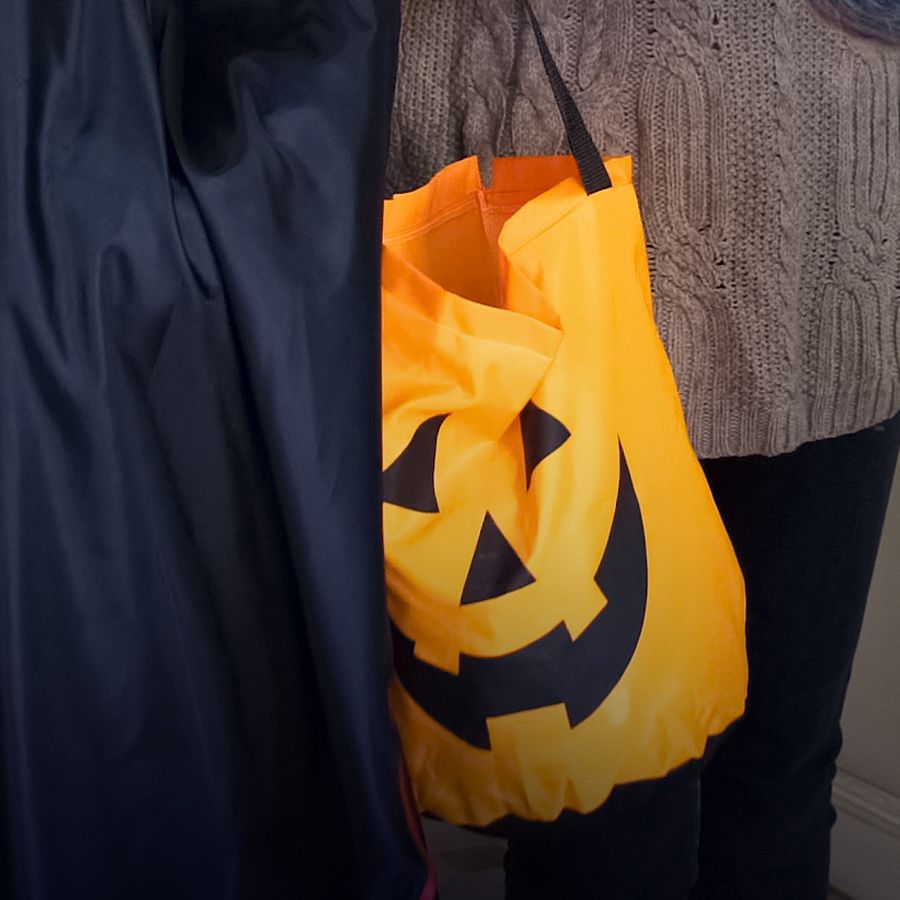
The night of witches is approaching! Starting in the United States, Halloween has now become a widespread phenomenon in every corner of the world, loved by adults and children alike. Who doesn’t enjoy “trick or treating” to collect lots of delicious sweets?
Below you will find all the instructions to create, together with your child, a fun 100% DIY bag to fill with sweets, chocolates and other treats!
What you need:
- 1 paper bag with handles
- Lightweight cardboard
- Tissue paper (black and white)
- Coloured ribbon (preferably black or orange)
- Pencil
- Colouring pens
- Scissors
- Glue stick
- Multi-purpose glue
Instructions:
- Take a sheet of light cardboard and use it to draw a Halloween subject of your choice (a pumpkin, a ghost, a skull, etc.). Then cut it out.
- Colour the drawing with the pens and glue it (using the glue stick) on one side of the paper bag with the handles.
- Replicate this procedure on the other side of the bag, being careful to choose a different Halloween subject from the first one.
- Tie a bow with the coloured ribbon and glue it with the multi-purpose glue on one of the upper corners of the bag.
- On the tissue paper, draw small cobwebs and bats, cut them out and glue them on both sides of the bag to decorate it.
Your “trick or treat” bag is ready: simple, colourful and fun to make and customizable in a thousand different ways! Now you just need to set off with your child, go from house to house and spend an unforgettable Halloween together. Guaranteed by Candy!
