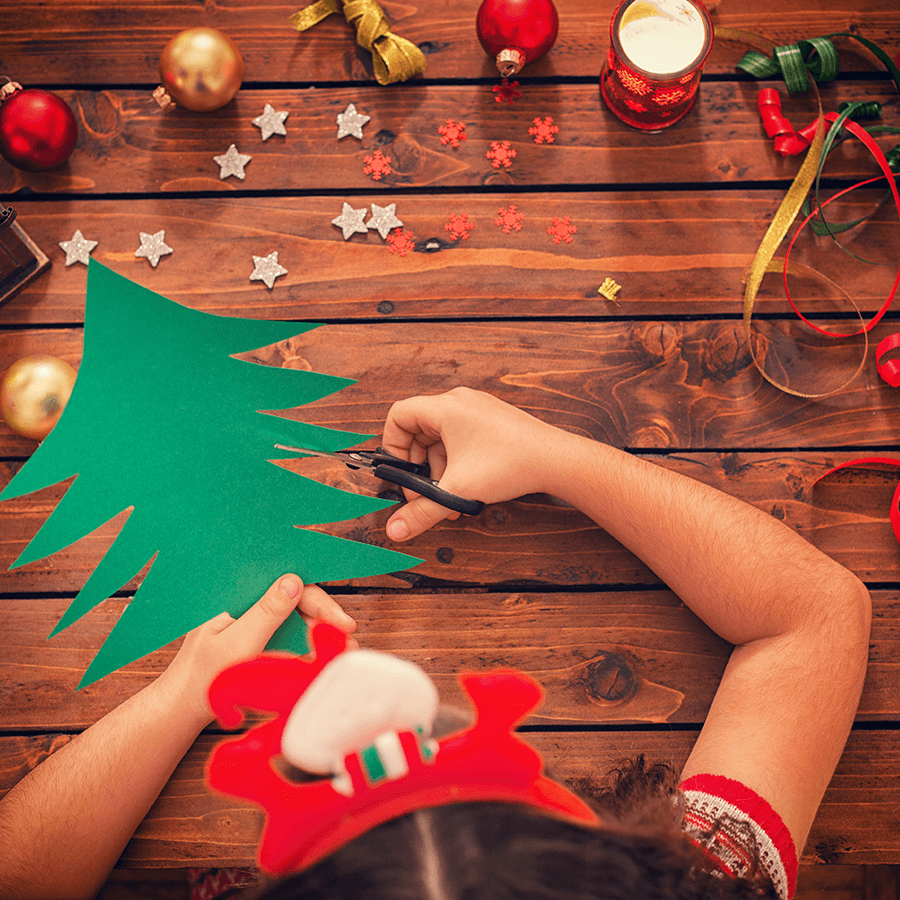
Christmas is a time for gifts and… arts and crafts for kids! The holidays offer an excellent opportunity to spend more time with our little ones, making things that stimulate their imagination, creativity and manual dexterity.
How to make a cardboard Santa Claus
Santa Claus has always been an icon of the holiday season, eagerly awaited by children across the globe. In this tutorial, we will be making a cardboard Santa - a perfect idea for younger children. Your finished Santa will look gorgeous on the Christmas tree.
What you need
- Drawings or print outs of Santa Claus shapes (either the entire figure or just the head, as you prefer); be sure to only draw or print the outlines, and then cut out each separate part (face, legs, arms, etc.);
- Cardboard in various colours: red, white, black, pink, yellow and flesh colour;
- Glue stick;
- Scissors;
- Pencil.
Instructions
- After you have drawn or printed out the Santa Claus shapes, arrange them on cardboard of the corresponding colour (red for the outfit, flesh colour for the face, white for the beard, etc.) or on white cardboard that the kids can then colour as required. Trace the outlines on the cardboard and then cut the shapes out;
- Assemble each part using glue: stick the face to the body, the cap to the top of the head, the beard to the chin, and so forth;
- Add the finishing touches as required.
